
How to Lower the Action On An Electric Guitar
Playing an electric guitar is an absolute blast, but I have to be honest, setting up and adjusting your guitar can be a bit tricky as heck, especially when you're a beginner, don't have the right tools for the job, or don't follow a procedure. One setup factor that makes a significant impact on playability is the string action height (i.e. how high the strings sit above the frets). Too high, and it feels like you’re pressing down telephone wires; too low, and you’ll get unwanted buzz or even dead notes. I remember when I first got my 2012 Fender Jaguarillo (a funky Jaguar model from Fender’s Pawn Shop series), and the electric guitar string height was way out of spec since the guitar had sat in a low-humidity basement for 10 years, and I had to learn how to dial it in just right. In this guide, I’ll share how to lower the action on an electric guitar, making it more comfortable and inspiring to play.
Whether you’re totally new to guitar setups or just looking for a quick improvement, this post will walk you through the whole process. We’ll start by covering what “action” actually is and what your action should be on an electric guitar. Then we’ll answer what is considered high action on an electric guitar, that way you will know if your guitar is really on the high side and could benefit from adjustment, or if you just need to lean into finger strengthening instead. Finally, I’ll give you a step-by-step tutorial on how to lower the action on an electric guitar (with easy, beginner-friendly steps). By the end of this, you’ll have your guitar playing like butter, easier on the fingers, and ideally without any buzzing or dead notes.
(By the way, if you’re a brand new electric guitarist still figuring out your gear, you might also want to check out our post on do you need an amp for an electric guitar. It’s a common question when you're starting out!)
Alright, let’s dive in and get that action dialed in!

How to Lower the Action On An Electric Guitar
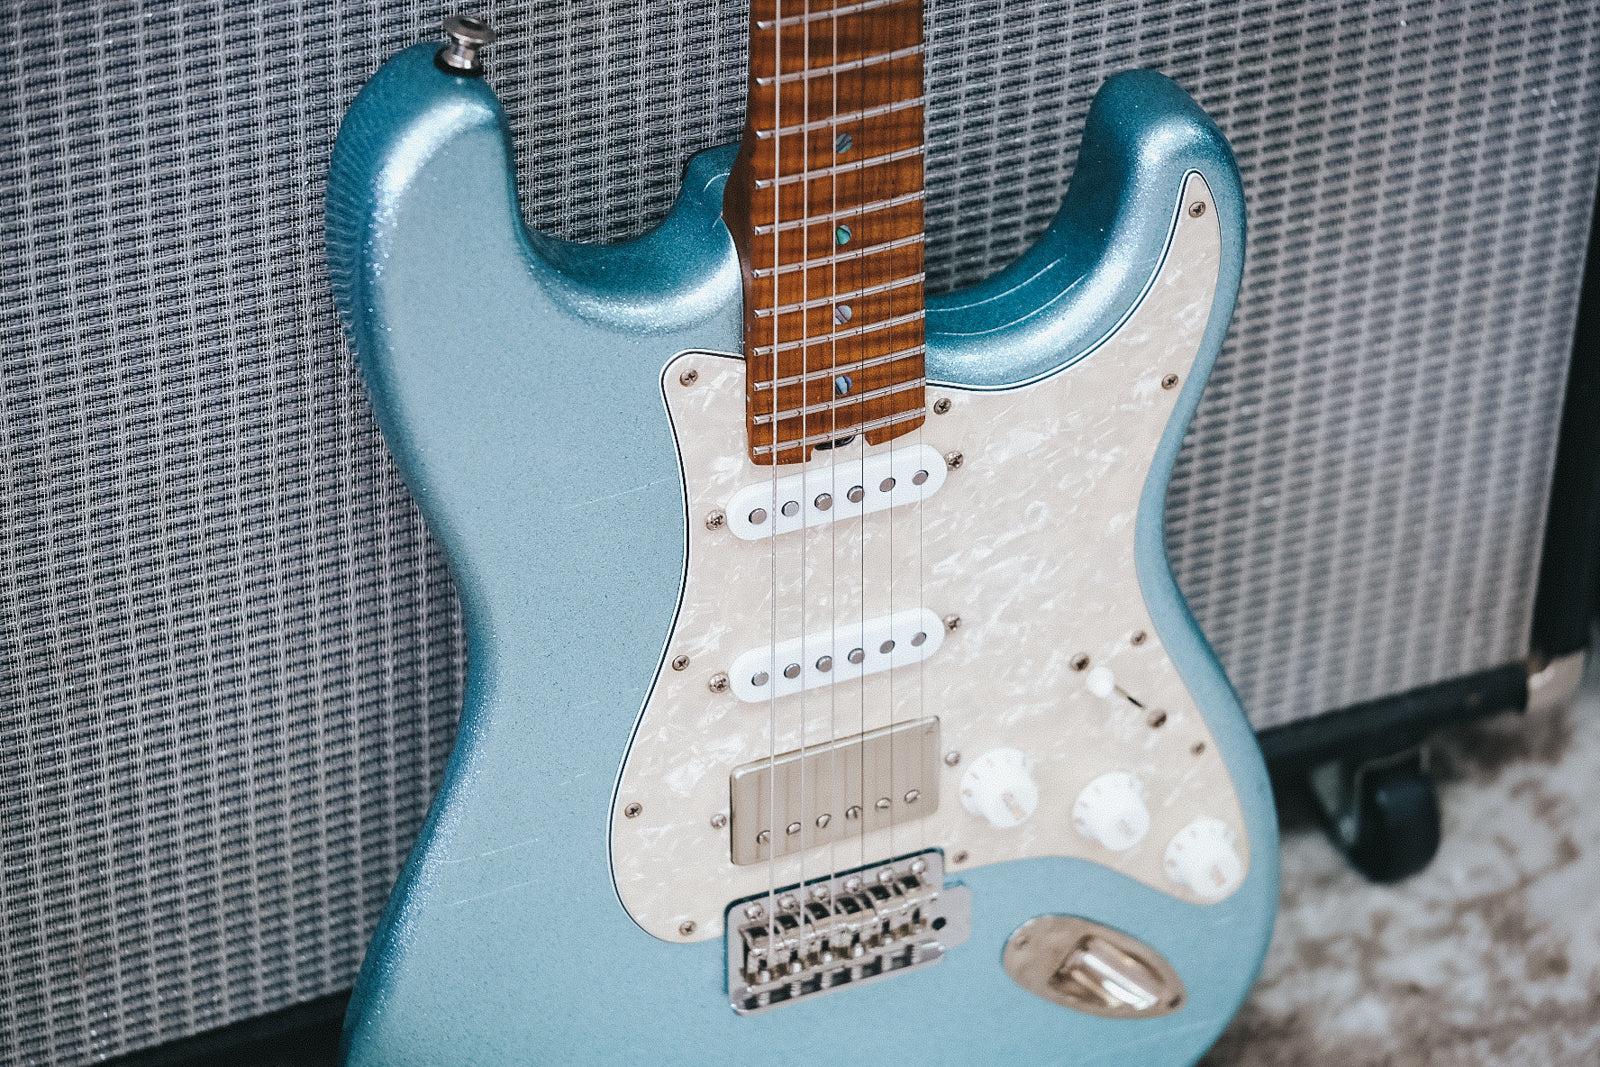
This guide will help you achieve a comfortable action, whether you’re playing a Fender-style guitar, a Gibson-style guitar, or any other guitar with adjustable bridge saddle height and trussrod adjustments available. By the end, you’ll know how to tweak things like the truss rod and bridge saddles to lower your electric guitar string height and improve playability.
Whether you just bought your first guitar or you’ve been playing for a while, I hope you’ll find these tips useful. Lowering the action can make a night and day difference in how your guitar feels. Let’s get into it!
What Should the Action Be On An Electric Guitar?
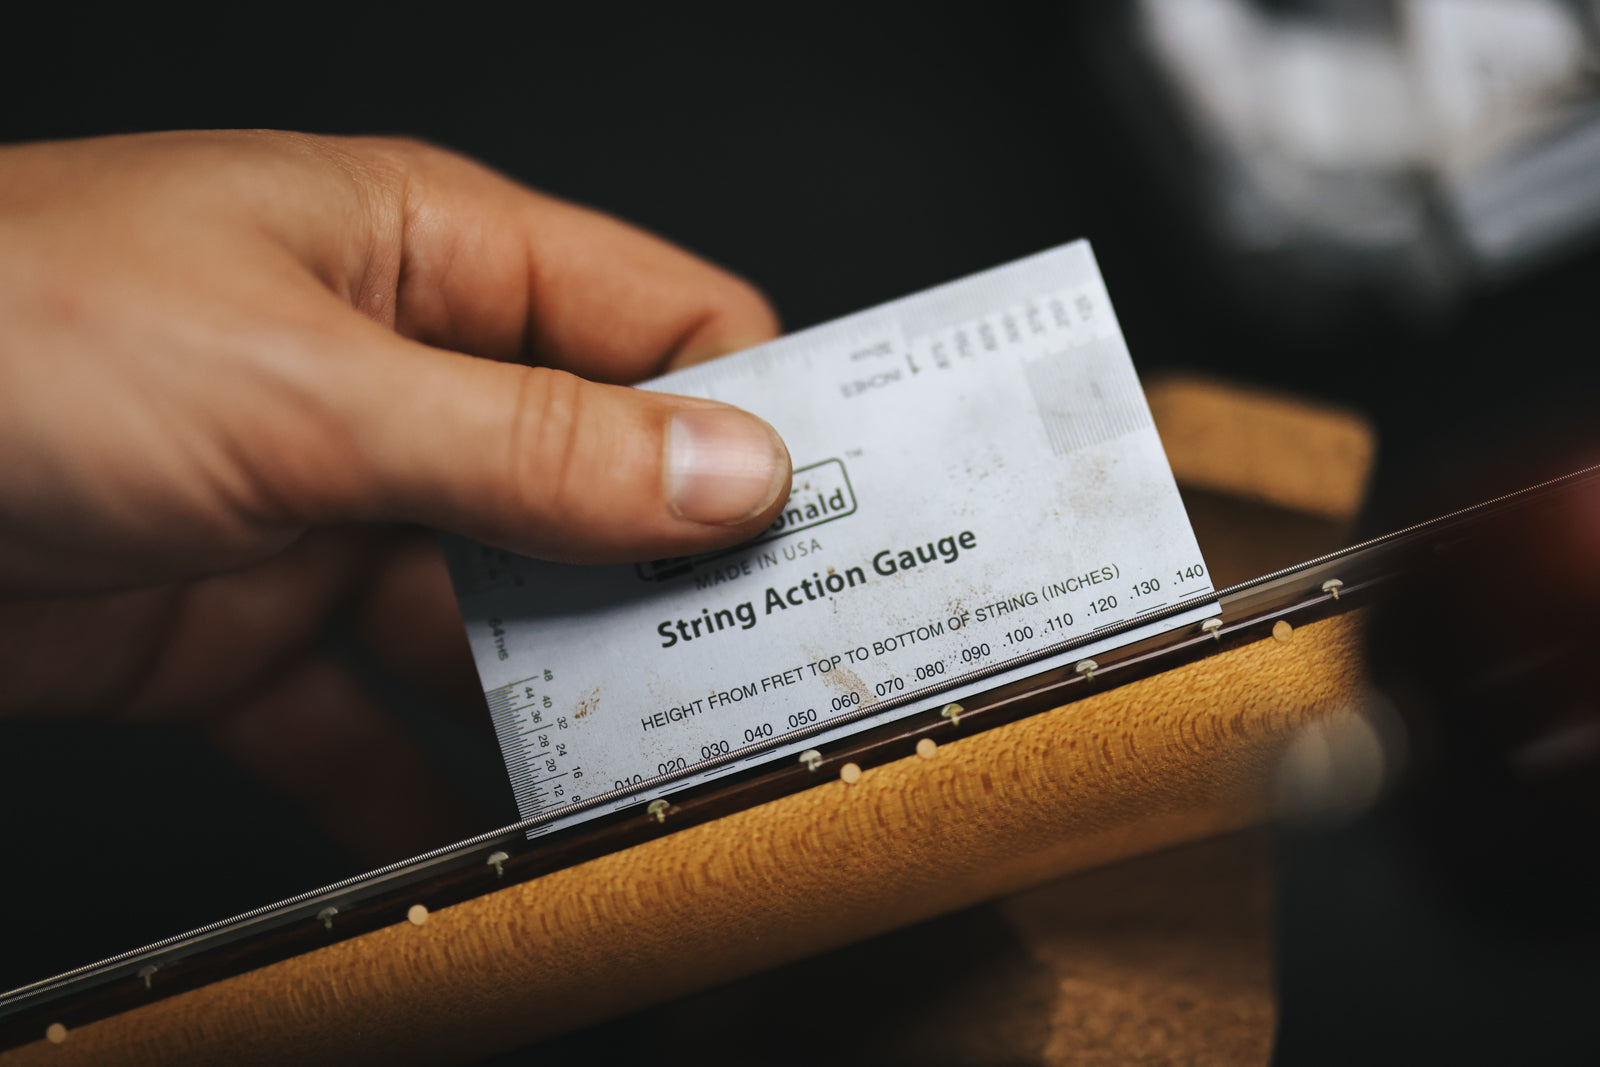
“Action” refers to the height of your strings above the fretboard (usually measured from the top of a fret to the bottom of a string). There’s no one-size-fits-all perfect action, it’s a matter of personal preference and playing style, but we can talk about some common benchmarks. For most electric guitars, a medium action (factory standard) is around 4/64” (1.6 mm) at the 12th fret. In fact, Fender reports that they ship their guitars with roughly that string height for a 9.5″ fretboard radius, which they consider a good starting point. Gibson’s stock setup guidelines suggest about 3/64” on the treble side and 5/64” on the bass side at the 12th fret (approximately 1.2 mm and 2.0 mm, respectively) as a standard action for their electric guitars. That falls in a similar range as Fender’s medium action spec.
Many players find an action in the ballpark of ~0.059 in to 0.079 in at the 12th fret comfortable. This usually means the high E string might be about 0.047 in to 0.063 in, and the low E around 0.07–0.079 in off the fret, give or take.
Keep in mind, these numbers are just a solid reference point. Some players prefer their action to be extremely low, as low as possible without causing buzz, while others don’t mind it a bit higher to "fight" the strings a bit more. There’s always a trade-off: lowering the action makes fretting and fast playing easier, but if you go too low, you might start hearing fret buzz or, in the worst-case scenario, a dead note. Higher action can give you a clean sound (no buzz at all), but it takes more finger effort to press the strings down. Most people try to find that sweet spot in between, often described as “low action, no buzz.”
To give you an idea of the range, some famous guitarists have very different preferences. Jeff Beck is known to prefer a relatively low action of around 3/64″ (0.047") on his guitars, whereas Stevie Ray Vaughan famously used very high action, dialing in at 7/64″ (0.11") (with heavy gauge strings) to accommodate his aggressive playing style. No wrong way here, just a window into the possibilities of some of our instruments' most beloved players.

What Is Considered High Action On An Electric Guitar?
“High action” means the strings are sitting unusually far from the frets, requiring more force from your fingers to fret a string. But what counts as “high”? This can be a bit subjective, as one player’s “high” might be another’s “medium”, but we can pin down a rule of thumb. If your string action is significantly above the typical specs we mentioned, it’s probably considered high. For instance, if the action on your electric guitar is, say, 0.12 in or more at the 12th fret (that’s around 7/64″ or 8/64″ on the measuring ruler), most players would call that high action for an electric.
In practical terms, you’ll feel high action immediately: it requires noticeably more effort to fret notes and chords. Your fingers might even start slipping under adjacent strings when bending notes if the strings are really high off the fretboard. If you find that you have to press very hard to get notes to ring out, or you struggle to play fast because of the string height, your action is likely on the high side. Another tell-tale sign is intonation issues, when the strings are extremely high, pressing them down to the fret stretches them more, which can make notes play sharp and mess with your tuning as you move up the neck.

How to Lower Action on an Electric Guitar
Alright! Now that we know the theory, let’s get into the actual process of lowering the action on your electric guitar. It involves a few adjustments, but don’t worry, these are pretty straightforward once you know what to tweak and how to understand the measured specs. We’ll go step by step. The main things we’ll be adjusting are the neck relief (using the truss rod) and the bridge/saddle height. Essentially, we’re going to fine-tune the curvature of the neck and the height of the bridge to get those strings closer to the frets. You won’t need many tools, but a few basics will help: an Allen wrench (hex key) that fits your truss rod and bridge saddles, a small ruler or action gauge to measure string height, and a screwdriver if your guitar’s bridge uses one for height adjustments.
Pro Tip: Action adjustments should be done with the guitar in tune, because string tension affects the neck. Also, make sure you do adjustments in small increments – patience is key. Little changes can make a big difference in action. Ready? Let’s lower that action:

Step 1: Measure and Evaluate Your Current Action (and Neck Relief)
The first step is to take stock of where things are now. You’ll want to measure your current action and check the neck relief. Neck relief refers to the slight forward bow in the neck that allows the strings to vibrate freely without buzzing on the frets. It’s important to get the relief right, because too much bow (up-bow) can make the action high in the middle of the neck, and too little relief (or a back-bow) can cause fret buzz when the action is low.
-
Check the neck relief: Capo (or hold) the first fret and press the low E at the last fret, using the string as a straightedge. Look at the gap around the 7th–9th fret. There should be a slight space, about 0.1–0.3 mm (a few sheets of paper). If it touches, the neck may be too straight or back-bowed. If the gap is very large (around 1 mm), that’s too much relief (up-bow).
-
Measure the action: With the guitar tuned to pitch, use a ruler or string height gauge to measure from the top of the 12th fret to the bottom of each string. Note the numbers. Example: 3 mm on the low E and 2.5 mm on the high E would be high for an electric.
If there’s too much relief, slightly tighten the truss rod to straighten the neck, which lowers mid-neck action. If relief looks good, lower action with bridge or saddle adjustments. Often, both are needed. Important: Anytime you make adjustments, do them a little at a time, retune, and re-check.

Step 2: Adjust the Truss Rod (Neck Relief)
Now that you’ve checked the neck relief, let’s adjust it if needed. The goal here is to ensure the neck has the correct slight curve. Adjusting the truss rod will change the neck’s bow: tightening the truss rod (turning it clockwise usually) will reduce relief by pulling the neck straighter (and even into a slight back-bow if overdone), whereas loosening it (counter-clockwise) will increase relief (more bow). Since we want to lower the action, we are typically concerned with not having too much up-bow. If your measurements or eyeball test showed a big gap (too much relief), you’ll want to tighten the truss rod a bit. If the neck was dead flat or back-bowed and you were getting buzz in the middle frets, you might need to loosen it slightly (though high action is rarely caused by too little relief; that scenario causes buzz rather than high action).
Locate the truss rod nut: Usually at the headstock (under a cover or exposed above the nut) or at the heel of the neck. On most Fenders (like the Jaguarillo), it’s at the headstock. Gibsons often hide it under a cover.
Stabilize the guitar: Adjust neck relief with the guitar in playing position, ideally, or on a padded table. Position doesn’t matter much for small tweaks.
Use the correct tool: Fenders usually need a 1/8"–3/16" Allen wrench, Gibsons a 5/16" nut driver or hex key. Always use a snug fit to avoid stripping.
Adjust in small increments:
-
To reduce relief (neck too bowed): turn clockwise (tighten) about 1/8-1/4 turn, then pause and re-check. You may require multiple adjustments, but go slowly.
-
To add relief (neck too straight/back-bowed): turn counter-clockwise (loosen) in small steps.
Important: The truss rod should move with moderate effort. Never force it. If it feels stuck or maxed out, stop and bring it to a competent guitar tech so you don't do irreparable damage to your truss rod or your guitar neck.
After adjustment: Relief changes affect action mostly around the 7th–12th frets. Now that our neck relief is dialed in, let's move on to bridge and saddle adjustments to dial in those string heights for a final action setup.

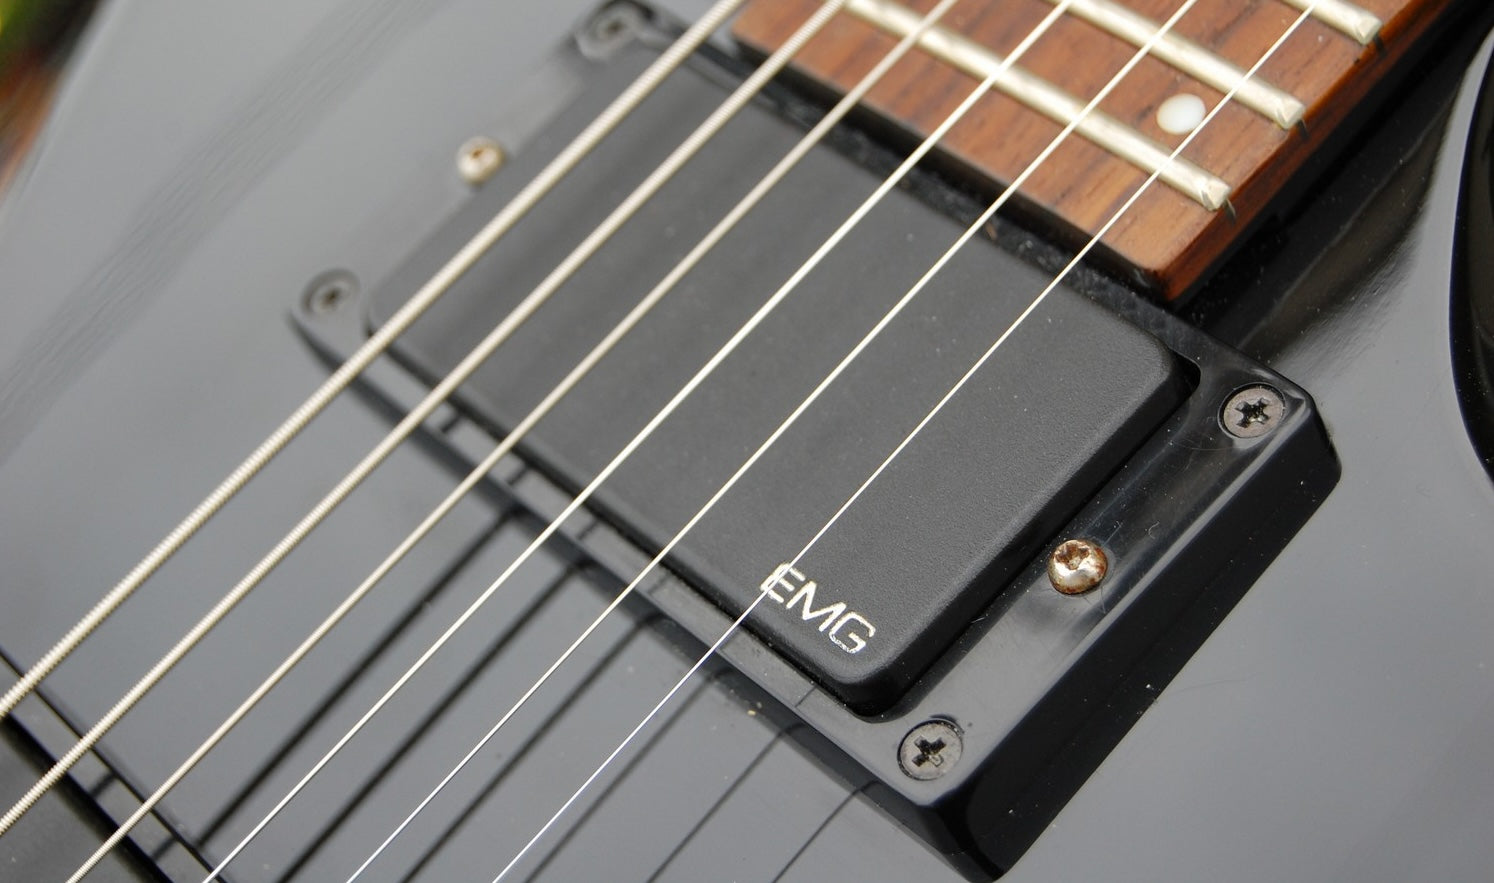
Step 3: Adjust the Bridge Height and Saddles
Once the neck relief is set, you can lower the string height by adjusting the bridge. The process depends on your bridge type:
Fender-style bridges (individual saddles)
-
Each string has its own saddle with two tiny screws. Use the correct small Allen wrench (often 1.5 mm or 1/16").
-
Start with the low E: lower the saddle by turning both screws evenly so it stays level. Retune the string and measure the action at the 12th fret.
-
Set the high E next, then adjust the middle saddles to follow the fretboard’s curve (higher in the middle, lower on the edges). A radius gauge helps, but eyeballing works fine.
-
Target heights: low E around 4/64″–5/64″, high E around 3/64″–4/64″. Adjust gradually, retune, and play test after each tweak. If a string buzzes, raise its saddle slightly.

Tune-o-Matic style bridges (Gibson or Adjusto-Matic)
-
Instead of individual saddles, the whole bridge moves up or down on two posts (one on each side). Some use thumbwheels, others a screwdriver slot.
-
Lower both sides a little at a time, retune, and check your action at the 12th fret. You can drop the treble side a touch lower than the bass side if needed.
-
Watch for buzzing. Because this style adjusts all strings together, you may need to find a balance if some strings buzz before others.
-
Double-check that strings aren’t hitting anything behind the saddles (like the back of the bridge). If they are, raise the tailpiece slightly.
General tips:
-
Always adjust in small steps, retune after each change, and re-measure.
-
Play across the fretboard to confirm comfort and check for buzz.
-
Lowering the bridge makes fretting easier and bends smoother, but going too low will cause unwanted noise.

Final Thoughts
Lowering your guitar’s action may feel intimidating at first, but with patience, it’s very doable and can drastically improve playability. Every player is different: light-touch players often prefer ultra-low action, while heavier players may need a bit more height to stay clean. Experiment within safe limits until you find what feels right. Once you’ve done it a couple of times, it becomes second nature, and you’ll be able to dial in any new guitar to your taste. If you have multiple guitars and frequently set them up, consider getting a neck relief gauge. I use this one in the shop, and it removes any doubt of where I'm at, so if you like, know exactly - this is the tool for you.

Keep in mind, a full setup also includes things like intonation, pickup height, and sometimes nut adjustments. Here, we focused on relief and bridge height since those alone can transform how your guitar feels. If you run into issues like a stuck truss rod or uneven frets, don’t force it; take it to a pro. Most of the time, though, a simple truss rod tweak and bridge adjustment are all you need.
Now grab your guitar and play, and you’ll notice how much easier it is to fret, bend, and slide with lower action. The more comfortable your instrument feels, the longer you’ll practice and the more fun you’ll have. Happy playing, and rock on!
Written by Kurtis Lamberton
Leave a comment
This site is protected by hCaptcha and the hCaptcha Privacy Policy and Terms of Service apply.