Variables like string gauge, wood type, and bridge saddle material can all result in dramatically different tones, even if the pickup heights are the same. That's why it's so important to have a PROCESS to follow instead of blindly following blanket advice or specific measurements.
My starting point is to adjust the bridge pickup first, for good reason. Most traditional methods suggest starting with the neck pickup, but that approach has a major flaw: it limits your ability to balance volume between pickups.
If you dial in the neck pickup perfectly first, you might never get enough output from the bridge, it could end up sounding weak and thin by comparison, which is exactly what you don’t want from your bridge pickup.
Step 1: Raise Your Pups!
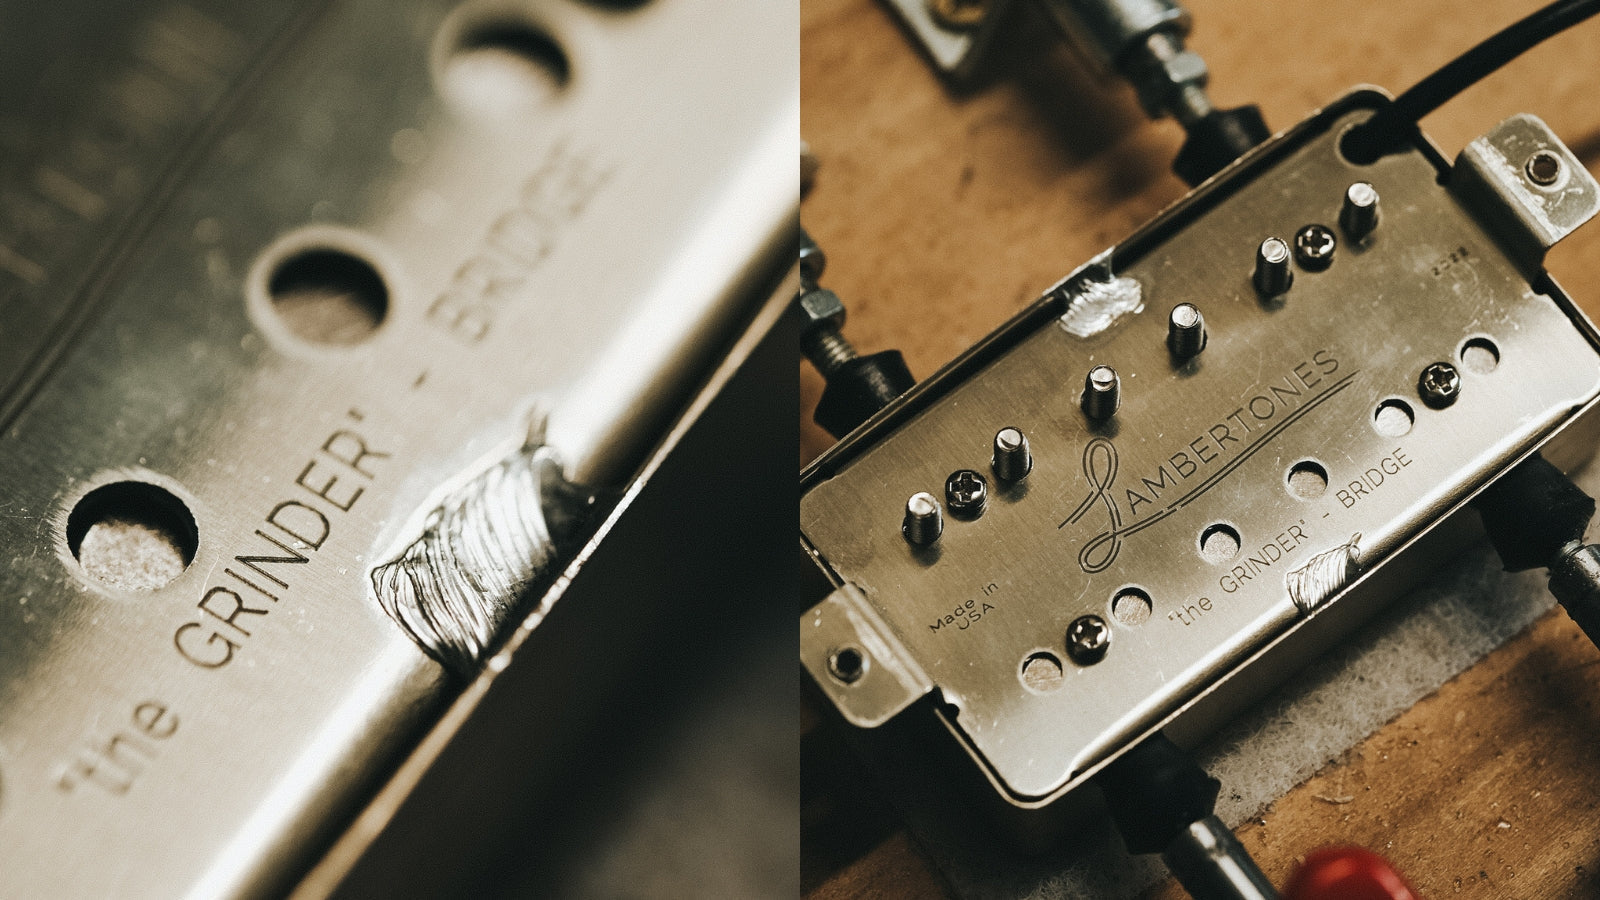
With that in mind, here’s how to start: Fret the highest note on your fretboard (usually the 22nd fret) and check the distance between the bottom of the strings and the top of the pickup pole pieces or screws.
Step 2: Drop, Listen, Micro-adjust the Bridge
Drop the pickups on the treble side 1-3 full turns. Test you current pickup height through your signal chain with your preferred gain and amp settings, (leave the wet effects alone for now, lets enjoy those at the end). Then make incremental height adjustments based on tonal balance and output response.! i.e. If the bass is too pungent or aggressive, lower the bass side down a full turn.
If the treble seems flabby or soft, it’s time to raise that side of your pickup a little bit! Setting pickup height is a game of millimeters, so once you’ve done the initial height setup described above, don’t make any adjustments without listening to and analyzing what tones you’re getting.
It’s time to move to the next pickup, and in this example, we’ll say it's the neck pickup (but don’t worry, if you have a middle pickup, you can treat it in the exact same way and then continue on down toward the neck pickup position after making your adjustments to the middle). Remember, we want to always move forward, adjusting from bridge position (closest to the guitar output jack) all the way to the neck position (closest to the neck joint).
Hint: Here’s the key difference in setting pickup height for a neck/middle pickup vs the bridge pickup. Usually, the bridge pickup position is desired to be of equal volume output or even a little louder than the other pickup positions.
So, before you start making any wild angled adjustments, we want to adjust the OVERALL pickup height of the neck not to overpower the bridge pickup.
Step 3: A/B Volume Output
Set your selector switch to the bridge position and give a solid strum on a G chord (that's my go-to). Then switch to the neck position and play the same chord again. Listen closely and compare the output. Was the neck pickup louder or softer than the bridge? A good rule of thumb is for the neck to be about 5 percent softer, but this comes down to personal taste.
Step 4: Adjust Bridge vs Neck Volume Output
If the neck was too loud, then turn those pickup height adjustment screws counterclockwise and drop the neck pickup it down a full turn.
Listen again, switching back and forth between the two positions and make another adjustment, but try to ONLY listen to overall volume/amplitude output and NOT the EQ, we’ll get there, I promise! Oh hey, we’re there!
Step 5: Micro-adjust the Neck
Once you are happy with the overall neck pickup volume output in comparison to the bridge pickup it’s time to micro-adjust each height adjustment screw to get the tonal frequencies you want.
In my experience, the bass side of the neck pickup can often sound overly boomy or thick compared to the treble side, though this is entirely subjective. The way you minimize drastic EQ shifts between neck and bridge positions is by lowering the bass side adjustment screw one full turn (counterclockwise) and slightly raise the treble side (clockwise) the same amount. Simple and effective.
Apply the same method to the bridge pickup but in reverse, lowering the treble side a full turn and raising the bass side the same amount.
As with most things in guitar setup, pickup height is a game of millimeters. If you’ve been following this guide, you’re probably already hearing how small adjustments can make a big tonal impact. The key is to fine-tune everything through your own rig, using your preferred settings, and trust your ears. Measurement tools are useful for maintaining consistency in your workflow, but when it comes to pickup height, there are too many variables—pickup characteristics, always on effects, playing style, amp settings—to rely solely on fixed numbers. If you do want a starting point, try 5/32". And if that sounds confusing, don’t worry—just follow the process here! It really works.
Adjust a little, listen a lot

Did you know that over 90% of your guitar's tone comes from the pickups? That makes high-quality pickups essential for dialing in great sound, aaaaaand that just happens to be our specialty! Want to dive deeper? Check out our blog on how to get a good guitar tone here.
Ready to take your tone to the next level? Our best-selling single coils and humbuckers are trusted by thousands of players chasing clarity, punch, and character. Find your sound today—your future tone is waiting.


Leave a comment
This site is protected by hCaptcha and the hCaptcha Privacy Policy and Terms of Service apply.